Nature's Force System: Difference between revisions
Shironsaki (talk | contribs) |
Shironsaki (talk | contribs) No edit summary |
||
| Line 26: | Line 26: | ||
=== Nature's Spirit Damage Boost === | === Nature's Spirit Damage Boost === | ||
[[Image:NF5.png]]<br> | [[Image:NF5.png]]<br> | ||
When Rena has at least 1 nature orb, she is able to use that orb for attacks. For combos, at the end of each combo, the orb will explode on the target, giving them splash damage and does not knock them down. This however does not apply to single hit combos (E.g: ^z). For skills, you are required to have the certain amount of nature orbs. The list below shows how much orbs are need for each skill.<br> | When Rena has at least 1 nature orb, she is able to use that orb for attacks. | ||
*For combos, at the end of each combo, the orb will explode on the target, giving them splash damage and does not knock them down. This however does not apply to single hit combos (E.g: ^z). | |||
*For skills, you are required to have the certain amount of nature orbs. With the required amount, the first hit of the skill will be aided with a detonation of the number of orbs used. The list below shows how much orbs are need for each skill.<br> | |||
<br> | <br> | ||
| Line 33: | Line 35: | ||
| | | | ||
| valign="top" | | | valign="top" | | ||
'''[[Rena]]/<br>Base''' | |||
{| cellspacing="1" cellpadding="1" border="0" style="background-color: black;" | {| cellspacing="1" cellpadding="1" border="0" style="background-color: black;" | ||
|- style="background-color: rgb(255, 255, 255);" | |- style="background-color: rgb(255, 255, 255);" | ||
| Line 63: | Line 65: | ||
| valign="top" | | | valign="top" | | ||
'''[[Sniping Ranger]]/<br>[[Grand Archer]]''' | |||
{| cellspacing="1" cellpadding="1" border="0" style="background-color: black;" | {| cellspacing="1" cellpadding="1" border="0" style="background-color: black;" | ||
|- style="background-color: rgb(255, 255, 255);" | |- style="background-color: rgb(255, 255, 255);" | ||
| width="40" | [[Image: | | width="40" | [[Image:Shooting Magnum.png]] | ||
| width="150" | [[ | | width="150" | [[Shooting Magnum]]<br>: 1 Orb<br> | ||
|- style="background-color: rgb(255, 255, 255);" | |- style="background-color: rgb(255, 255, 255);" | ||
| width="40" | [[Image: | | width="40" | [[Image:Guide Arrow.png]] | ||
| width="150" | [[ | | width="150" | [[Guide Arrow]]<br>: 2 Orbs<br> | ||
|- style="background-color: rgb(255, 255, 255);" | |- style="background-color: rgb(255, 255, 255);" | ||
| width="40" | [[Image: | | width="40" | [[Image:Entangle.png]] | ||
| width="150" | [[ | | width="150" | [[Entangle]]<br>: 1 Orb<br> | ||
|- style="background-color: rgb(255, 255, 255);" | |- style="background-color: rgb(255, 255, 255);" | ||
| width="40" | [[Image: | | width="40" | [[Image:Crazy Shot.png]] | ||
| width="150" | [[ | | width="150" | [[Crazy Shot]]<br>: 3 Orbs<br> | ||
|- style="background-color: rgb(255, 255, 255);" | |||
| width="40" | [[Image:Gungnir.png]] | |||
| width="150" | [[Gungnir]]<br>: 3 Orbs<br> | |||
|- style="background-color: rgb(255, 255, 255);" | |||
| width="40" | [[Image:Reflect Kick.png]] | |||
| width="150" | [[Reflective Kick]]<br>: 1 Orb<br> | |||
|- style="background-color: rgb(255, 255, 255);" | |- style="background-color: rgb(255, 255, 255);" | ||
| width="40" | [[Image: | | width="40" | [[Image:CAs2.png]] | ||
| width="150" | [[ | | width="150" | [[Stigma Shot]]<br>: 1 Orb<br> | ||
|- style="background-color: rgb(255, 255, 255);" | |- style="background-color: rgb(255, 255, 255);" | ||
| width="40" | [[Image: | | width="40" | [[Image:Arch shot.png]] | ||
| width="150" | [[ | | width="150" | [[Arc Shot]]<br>: 1 Orb<br> | ||
|- style="background-color: rgb(255, 255, 255);" | |- style="background-color: rgb(255, 255, 255);" | ||
| width="40" | [[Image: | | width="40" | [[Image:Rapid Shot.png]] | ||
| width="150" | [[ | | width="150" | [[Rapid Shot]]<br>: 1 Orb<br> | ||
|- style="background-color: rgb(255, 255, 255);" | |- style="background-color: rgb(255, 255, 255);" | ||
| width="40" | [[Image: | | width="40" | [[Image:SI Aero-Strafe.png]] | ||
| width="150" | [[ | | width="150" | [[Aero Strafe]]<br>: 2 Orbs<br> | ||
|- style="background-color: rgb(255, 255, 255);" | |- style="background-color: rgb(255, 255, 255);" | ||
| width="40" | [[Image: | | width="40" | [[Image:Wind Blast.png]] | ||
| width="150" | [[ | | width="150" | [[Wind Blast]]<br>: 2 Orbs<br> | ||
|- style="background-color: rgb(255, 255, 255);" | |- style="background-color: rgb(255, 255, 255);" | ||
| width="40" | [[Image: | | width="40" | [[Image:Wind Ward.png]] | ||
| width="150" | [[ | | width="150" | [[Wind Ward]]<br>: 2 Orbs<br> | ||
|- style="background-color: rgb(255, 255, 255);" | |- style="background-color: rgb(255, 255, 255);" | ||
| width="40" | [[Image: | | width="40" | [[Image:GAs1.png]] | ||
| width="150" | [[ | | width="150" | [[Freezing Arrow - Sting]]<br>: 1 Orb<br> | ||
|- style="background-color: rgb(255, 255, 255);" | |- style="background-color: rgb(255, 255, 255);" | ||
| width="40" | [[Image: | | width="40" | [[Image:Freezing Arrow D.png]] | ||
| width="150" | [[ | | width="150" | [[Freezing Arrow - Drizzle]]<br>: 1 Orb<br> | ||
|} | |} | ||
| Line 106: | Line 114: | ||
| valign="top" | | | valign="top" | | ||
'''[[Combat Ranger]]/<br>[[Wind Sneaker]]''' | |||
{| cellspacing="1" cellpadding="1" border="0" style="background-color: black;" | {| cellspacing="1" cellpadding="1" border="0" style="background-color: black;" | ||
|- style="background-color: rgb(255, 255, 255);" | |- style="background-color: rgb(255, 255, 255);" | ||
| Line 158: | Line 166: | ||
| valign="top" | | | valign="top" | | ||
'''[[Trapping Ranger]]/<br>[[Night Watcher]]''' | |||
{| cellspacing="1" cellpadding="1" border="0" style="background-color: black;" | {| cellspacing="1" cellpadding="1" border="0" style="background-color: black;" | ||
|- style="background-color: rgb(255, 255, 255);" | |- style="background-color: rgb(255, 255, 255);" | ||
Revision as of 04:17, 2 January 2014
Every character in Elsword have their own unique features that sets them apart from other characters.
Nature's Spirit
In the Korean server on 02/01/2014, Rena received a new system, the Nature's Spirit system. Nature's Spirit is a system exclusive to only elves. The system interface is indicated below the MP bar. The orbs are indicated ingame as NF.

Increasing amount of Nature Orbs
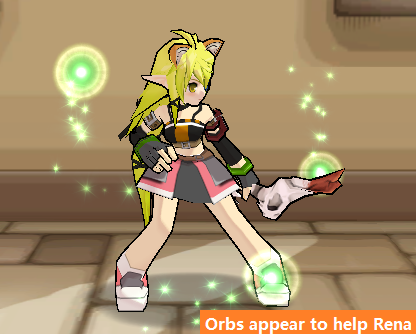
You are able to charge up the nature orbs bar by doing basic kicks and arrow shots. After doing 7 hits with either kicks or shots, 1 orb will appear to float around Rena.
New Double Jump

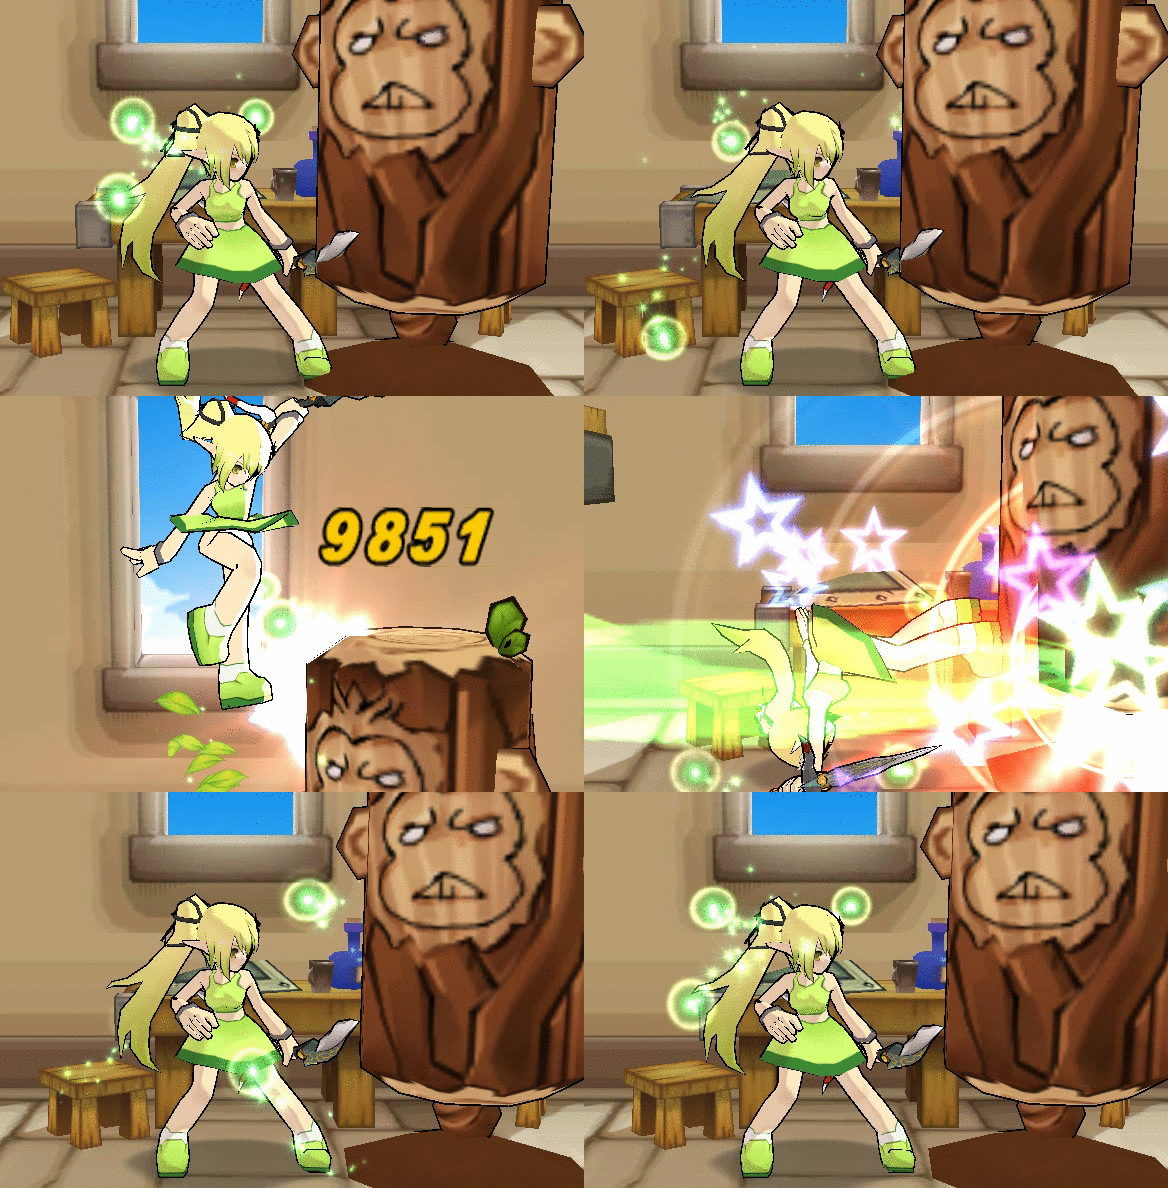
Along with the new system, Rena also get some new movement. Her double jump has been changed to from twirling in midair to jumping off a platform made of wind and leaves. Like Elsword or Raven, she is also able to air dash now however with lower distance.
Nature's Spirit Buff
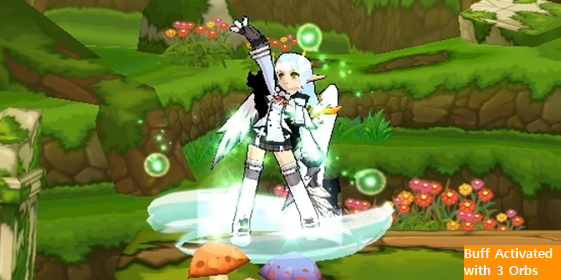
When Rena can collect 3 or more nature orbs, she will automatically receive a buff which increases her Movement Speed, Natural MP Recovery and Damage Reduction.
Nature's Spirit Damage Boost
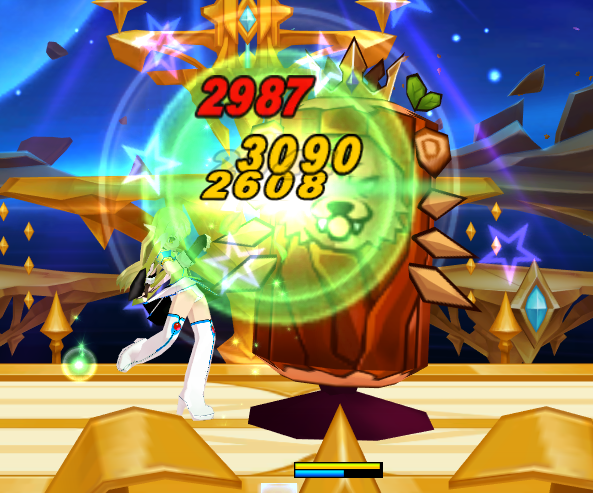
When Rena has at least 1 nature orb, she is able to use that orb for attacks.
- For combos, at the end of each combo, the orb will explode on the target, giving them splash damage and does not knock them down. This however does not apply to single hit combos (E.g: ^z).
- For skills, you are required to have the certain amount of nature orbs. With the required amount, the first hit of the skill will be aided with a detonation of the number of orbs used. The list below shows how much orbs are need for each skill.
MP Regeneration

As Rena arrows require MP, Rena can also regenerate MP by standing still. This is a good aspect in PvP as it help Rena get more MP to unleash skills to support teammates. Rena's MP regeneration is much slower than Aisha's but can be sped up if you play as a Grand Archer and have the passive Inducing Nature.
Arrows
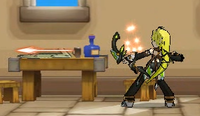
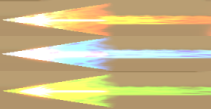
Like Aisha and Eve, pressing ![]() button allow Rena to fire a magical projectile. This is highly useful as Rena's kicking range is not as large as the other characters' normal attacks.
button allow Rena to fire a magical projectile. This is highly useful as Rena's kicking range is not as large as the other characters' normal attacks.
Rena's arrows can be destroyed if an opponent counters it with a timed physical attack.
After the 13/12/12 KR patch, all job arrows will pierce targets once.
If you are using a weapon with a triple fire/poison/ice element, the arrow will change color and appear larger, however her kicks and Trapping Ranger's Erendil have no outline or show of motion when attacking like every other character.
Quick Recovery
Only Rena and Aisha have this feature. When getting hit in midair, they will land quickly on the ground, allowing them to escape combos. Continuous hits in midair will allow them to 'bounce around', making it hard to pinpoint where they will land.


